

Six design tips for a termite smart deck
/
Adding a deck to your property is a great way to add value to your home. However, when designing and building a deck, many ignore the design elements required to prevent termites attacking your decking timber or worse still, using your deck as a route to enter your home undetected!
Here are the six design tips you need to consider when design and building a quality, termite smart deck
1) Use termite resistant timber
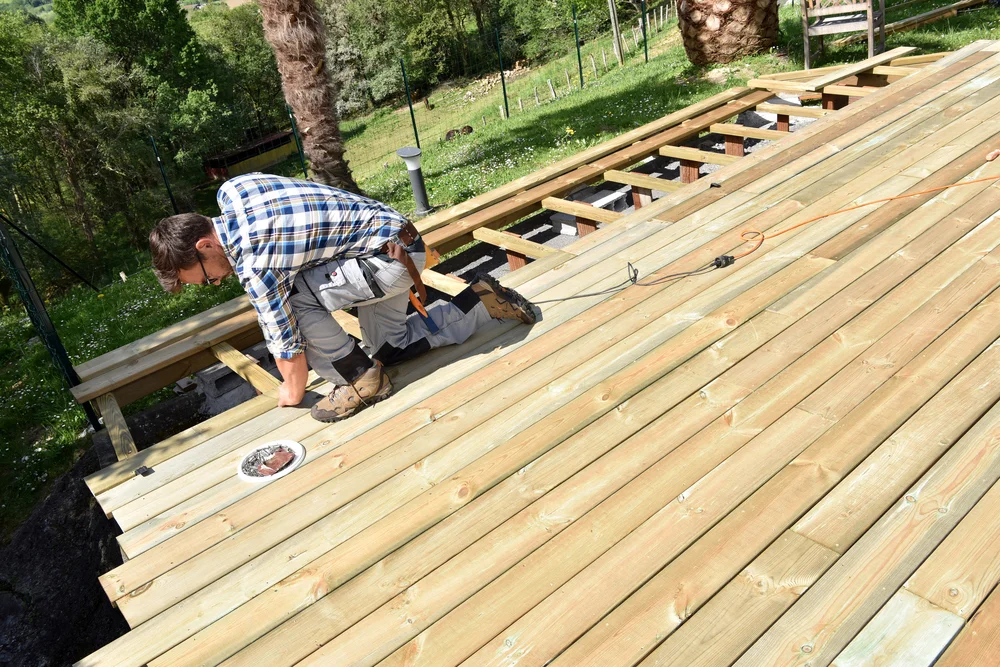
A termite smart deck is more than using "termite resistant" timber. Best options are native termite resistant timber such as jarrah, blackbutt, ironbark, stringybark or spotted gum. Merbau (from Asia) is also a good option but check to make sure it has come from a sustainable resource.
Treated pine is another option. However, be aware that more often than not, the treatment does not penetrate all the way into the middle of the timber, leaving an untreated core, which the termites can still attack. In addition, builders often cut the ends of such timbers to build the deck, exposing this untreated inner core, making it easy for termites to enter.
It’s important to remember that termite resistant timber is only termite-resistant, not termite-proof and treated timber does not last forever. As such, it is important to have other design features to keep termites at bay.
2) Use metal stirrups
Set metal stirrups in concrete to support the timber piers. This keeps the timber off the ground and allows any termite mud tubes that may be built on the outside of the metal stirrup to be noticed. Timber in concrete footings is not appropriate as termites can squeeze through gaps in the concrete as small as 2mm to get to the timber.
3) Allow access underneath the deck
Whenever possible leave at least 400mm under the deck and an access point to allow room to crawl under the deck and inspect the timbers.
4) Leave the surrounds of the deck open
Having solid sides to a deck greatly reduces airflow and increases humidity (just what termites like). Keep the sides open to allow good airflow under the deck (and allow access to inspect).

With no gap between the deck and the building and noway to see under the deck, it's easy for termites to get into the house without being noticed!
5) Ensure the edge of the building remains visible
Whenever an external structure is adjacent to the house there should be a gap of at least 25mm between the structure (in this case the deck) and the house. This allows the edge of the house to be viewed by a pest professional to inspect for termite activity trying to access the house. If the gap is less than 25mm a termite protection system needs to be installed during construction. Where possible the deck should be installed below the weep holes.
6) Consider screwing in decking timbers
Screwing in decking timbers (or at least some of the decking timbers), allows for their easy removal for inspection of the edge of the building or under the deck. This is great for inspections or if any repairs or termite treatments are required. This is especially important for decks that have only a small ground clearance (less than 400mm).
Of course even if you have a 25mm gap between the deck and the house, you can still get your pest professional to carry out a soil treatment around the deck. Get a pest professional involved at the design phase, so they can review your plans and input as required.
If you’re a home handyman wanting to tackle the job yourself, these tips will help you build a deck that lasts. If you’re a homeowner getting a builder or landscaper to build the deck, don’t assume that they will follow best practice – often they are unaware of the regulations! Use these tips as a guide to choose a quality builder and check they are doing a quality job. With a bit of luck, you can then spend many years enjoying your deck…..and the termites can’t!


